
Image: @marissaarainaxo

Milli & Bot (from Team Umizoomi)
-
Has instructions
Materials
For Milli:
- One pink kids outfit
- One winter hat (without tassels or a puff ball!)
- 3 yards of hot pink no pill fleece
- 1/2 yards of light pink no pill fleece
- 1 yard of yellow no pill fleece
- 1 yard of orange no pill fleece
- Stuffing (polyfil)
- Sleeveless dress (to trace for pattern)
- Adult hooded sweater (to trace for hood/hat pattern)
- Pipe cleaners
For Bot:
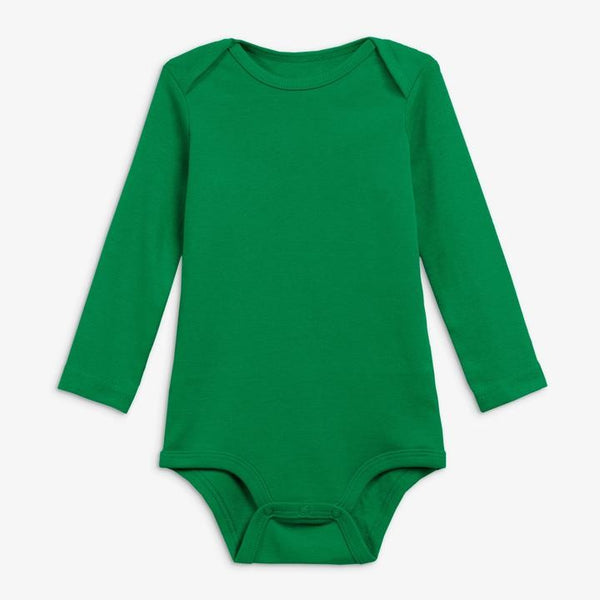
- One green baby outfit
- One winter hat (without tassels or a puff ball!)
- 1/2 yard of green of no pill fleece
- 1/2 yard of yellow no pill fleece
- 1/4 yard of blue no pill fleece
- 1/4 yard of white no pill fleece
- 1/8 yard of black no pill fleece
- 1/8 yard of orange no pill fleece
- Stuffing (polyfil)
- Children’s hooded sweater (to trace for hood/hat pattern)
- Pipe cleaners
Tools
- Hot pink thread
- Light pink thread
- Orange thread
- Yellow thread
- Blue thread
- Green thread
- Orange thread
- Black thread
- Sewing needles
- Scissors
- Pins
- KAM snap pliers, hole making tool, & yellow snaps OR stick on Velcro
- Sewing machine or hand stitch could be used
- Tip: A hot glue gun can be used in place of some stitching!
Instructions
Here's a crafting costume that will solve the Halloween equation. Bring these magical math superheroes to life with our Primary DIY Team Umizoomi group costume! Our step-by-step instructions are as easy as 1 + 2 = 3.
For Milli
For the dress:
- Cut out 32 flowers using the light pink fleece, 10 for the front of the dress, 10 for the back of the dress, 12 for the hat.
- Take the hot pink fleece, fold in half then lay out on a flat surface. Next, take your sleeveless dress and lay it over the fleece. Cut around the perimeter of the dress, leaving a 1/2 inch seam allowance on all sides.
- Pin and hem the bottom, neck, and arm holes of the two dress halves using hot pink thread(can also be left raw as fleece will not fray.)
- Next, hand stitch the flowers to the dress halves using light pink fleece. 10 on the front, 10 on the back.
- Take the two pieces of the dress and put the sides with flowers facing each other. Pin and Stitch along both sides of the dress using hot pink thread, from the bottom to the armpit then again at both shoulders, leaving 1/2 inch seam allowance. Turn the dress right side out.
For the hat:
- For the hat base, make two layers of a hood to stuff together. Use the hood of a hoodie to trace and cut 4 matching panels from hot pink fleece fabric. Glue or sew two panels together along the curved edge to make a hood. Repeat for the other hood. Place the hoods together - with one hood lined up inside the other. Glue or sew the edges of both layers together and stuff it with polyfil as you glue. If sewing, leave an opening to stuff, then sew the rest closed.
- For the yellow hood trim, cut a strip of yellow fleece fabric that’s a few inches longer than the front face edge of the hood, and 3 inches wide. Fold the fabric in half lengthwise, or hot dog style, and glue or sew it together and stuff it with polyfil as you glue. If sewing, leave an opening at one end to stuff, and sew it closed when finished stuffing. Glue or sew this trim piece around the face edge of the hood. Glue or sew velcro to the bottom edges of the trim to hold it closed in a circle shape around the face.
- For the yellow pigtail hair ties, cut, sew or glue, and stuff two strips of yellow fleece together for each pigtail. Roll them into ring shapes and glue or sew together.
- For the orange pigtails, cut two 3”x16” strips of orange fleece fabric. Fold the fabric in half lengthwise, or hot dog style, and glue or sew each pigtail together and leave one short end open on each. Twist 8-10 pipe cleaners together for each pigtail and insert one into each pigtail. Glue or sew the open pigtail ends closed and bend the hair to curl up at the ends. Glue or sew the yellow hair ties from step 3 to the top of each pigtail. Glue or sew the pigtails to the hot pink hat base.
- For the light pink flowers, glue them to the hot pink hood.
For Bot
For the sweatshirt:
- Cut out two 2 inch by 5 inch strips of blue fleece (the length of your strips may very due to the size of sweatshirt.) Wrap and pin the strips around the sleeve cuff. Stitch with blue thread to attach the blue strip to the sleeve of our sweatshirt.
- Next take the white fleece and cut an 8 inch by 8 inch square (the size of your square may vary depending on the size of your sweatshirt) This piece will be Bot’s Belly Screen! Set aside.
- Now taking blue fleece, cut a spiral to fit the belly screen. Pin and stitch the spiral to the white fleece square using blue thread. Set aside.
- Next, using yellow fleece, cut out a number 1. Using green fleece, cut out a number 2. Using yellow fleece again, cut out a number 3. Position the numbers on the belly screen spiral as if they are being spun into it. Pin and stitch the numbers by hand using corresponding thread, or use a sewing machine to attach. Set aside.
- Taking yellow fleece, cut four 1/2 inch by 8 inch strips (length may very depending on size of Belly Screen) pin and stitch each strip to the outside of the Belly Screen with yellow thread to make a border. Set aside.
- Next, cut nine small polka dots, three blue, three green, three yellow. Arrange the polka dots on the belly screen, three polka dots in each free corner, one of each color, for a fun, patterned confetti look. Pin and stitch each polka dot with corresponding thread color.
- Now take your finished Belly Screen and center it on your sweatshirt in the middle. Pin and stitch each corner of the Belly Screen with yellow thread. Add an additional stitch in the middle along the edge if need be. (I chose minimal attachment so I could remove the Belly Screen and reuse the sweatshirt!)
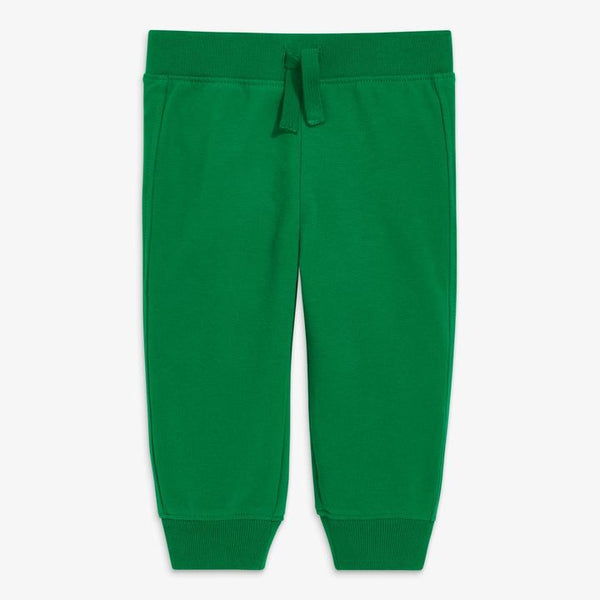
For the pants:
- Cut out two 2 inch by 5 inch strips of blue fleece (the length of your strips may vary depending on pant size.)
- Wrap and pin the strips around each of the pant legs. Hand stitch with blue thread or use a sewing machine to attach the blue strips to each of the the pant legs.
For the hat:
- Take 1/2 yard of green fleece, fold in half and lay out on a flat surface.
- Take the hooded sweat shirt by the hood and smooth at the seam. Lay the hood on the fleece and cut around the perimeter, leaving a 1/2 inch for seam allowance. Set aside.
- Now taking the blue fleece, cut a 3 inch by 18 in strip of fabric (length of strip may vary depending on the size of hat being used.) Fold the fabric in half length wise. Using a sewing machine, stitch the entire length of the blue strip. Set aside.
- Now take the two hood pieces and place them so all the edges line up. Pin and stitch along the curved side only, leaving the bottom and front open. Turn right side out.
- Take the blue strip you set aside before and line it up with the edges of the front opening of the hood, making sure the blue strip is on top of the hood, with the raw edges lined up and centered. Pin and sew the blue strip to the hood. Once stitched, pull the blue strip forward so the seam is hidden inside the hood. The blue strip may extend a few inches off of either side of the hood, this will be fixed in another step. Set aside.
- Now take black fleece and cut out two black circles for eyes and a 1 inch by 5 inch smile for Bot’s face!
- Pin and stitch Bot’s smile to the green fleece with black thread, centering it over the seam of the hood.
- Next, pin and stitch the two black circles for eyes with black thread, above his smile!
- Now taking more green fleece, cut two small 1.5 inch diameter circles. Pin and hand stitch the circles together using green thread, leaving a small opening. Turn the circle right side out. Next, take a pipe cleaner and coil it into a spiral. Insert the spiraled pipe cleaner into the opening of the green circle. Stitch the opening closed using green thread. This will be the dish for Bot’s antenna!
- Next, cut one small yellow polka dot. Stitch to the center of Bot’s antenna dish using yellow thread. Set dish aside.
- Taking the green fleece, cut a 1 inch by 2 inch rectangle. Fold in half lengthwise and stitch along the length of the rectangle using green thread. Turn right side out. Set aside.
- Next, pin and stitch the dish to the top of the antenna opening using green thread. Set aside.
- Next, take orange fleece and cut out an arc shape. The top and bottom should be curved downward, with the top being shorter in length across (1 inch) than the bottom (2 inches), and the sides straight (1 inch in length). Fold the shape in half, pin and stitch with orange thread, turn right side out to hide the seam. One opening will be larger than the other.
- Now, insert the bottom of the antenna into the smaller opening of the orange fleece. Pin and stitch the antenna to the orange fleece using orange thread. Set aside.
- Now taking three pipe cleaners, fold them both simultaneously, down to 3 inches to fit inside the antenna body. This will be inserted into the antenna to keep it upright! Insert the folded pipe cleaners into the antenna. Fill the rest of the space around the pipe cleaners with polyfil.
- Now attach the antenna to the green fleece hood. The antenna should sit about 1 inch behind the left eye. Pin and stitch to the hood using orange thread.
- Now take the hood and turn it inside out. Next, take the seam where the blue strip is sewn to the green hood and use that to attach the winter hat! Start at the front center of the hat and pin the middle seam of the hood to the center of the outside of the hat. Continue pinning the seam around the outside of the hat. Sew along the pinned edges using blue thread, making sure to leave a 3-4 inch hole for turning out! Turn the hat right side out through the hole and tuck the winter hat up into the green hood.
- Now tuck the seam of the hole that was left to turn out, inside the hat and pin and stitch shut using green thread.
- Now take the ends of the blue strip that surrounds the hat, overlap and pin them together. Cut any excess length. Stitch the ends together with blue thread.