Image: @jodimcandrew
Parrot
Materials
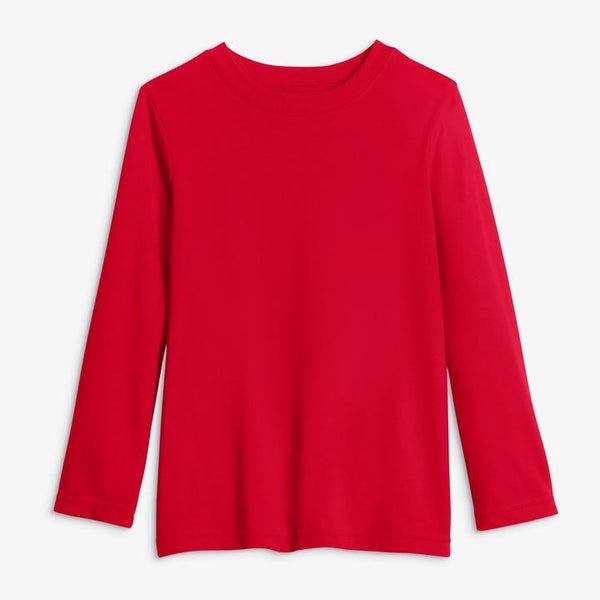
- One red kids top
- One yellow kids bottom
- Red felt (1 yard)
- Dark blue felt (6 sheets 9x12 inches each)
- Green felt (5 sheets 9x12 inches each)
- Yellow felt (6 sheets 9x12 inches each)
- White felt (1 sheet 9x12 inches)
- Red beanie
- Stuffing (felt scraps, newspaper, tissue, or polyfil)
Tools
- Double sided fabric tape (optional)
- Safety pins
- Hot glue gun and sticks
- Scissors
- Black marker
Instructions
For the head:
- Cut two curved beak shapes from yellow felt. Stuff and glue together and glue or safety pin to the center front of the red beanie.
- Cut two large circles from white felt and glue or use fabric tape to attach to either side of the beak.
- Cut two smaller blue circles, and two smaller white circles from felt for the eyes and glue one set of eyes on top of the bigger white circles.
- Use a black marker to draw a small dot on each eye.
For the wings:
- Cut two curved wing bases from red felt the length of your child’s arms to the mid back.
- Cut a red felt rectangle to connect the wings together in the middle of the back and glue to each wing.
- Cut leaf shaped feathers from dark blue, green, yellow, and red felt and glue in tiered colors onto the red wing bases.
- Glue red felt straps where the shoulders and wrists meet onto the back of the wings to wear.
For the tail:
- Cut a red felt triangle base for the tail.
- Cut leaf shaped feathers from dark blue, green, yellow, and red felt and glue in tiered colors onto the tail.
- Safety pin to the back of the tee.
