
Image: @kaitllynsteiner
Products you’ll need (6)


Lock, Shock & Barrel (from the Nightmare Before Christmas)
Products you’ll need (6)
Materials
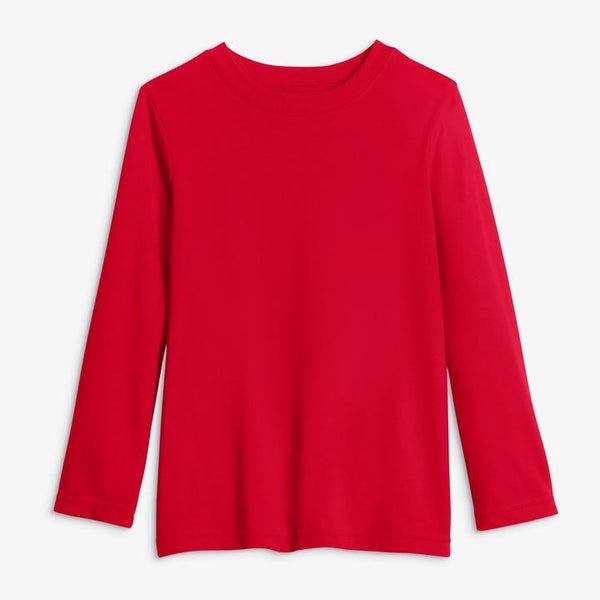
For “Lock” (The Devil):
- One red kids outfit
- A devils tail
- A lock mask
For “Shock” (The Witch):
- One purple kids outfit
- A witches hat
- A shock mask
For “Barrel” (The Skeleton):
- One gray baby outfit
- White felt
- Scissors
- A barrel mask
For the Masks:
- Foam sheets in red, green and white
- Felt sheets in red, green, white and black
- White and black paint
- Elastic
- Cardboard
Tools
- Sewing needle and thread
- Scissors
Instructions
Bring these Halloweentown anti-heroes to life with our Primary DIY Lock Shock & Barrel costume! Any Nightmare Before Christmas fans will love this classic look, perfect for a trio of somewhat-naughty kiddos. Your little henchmen will be comfy enough to run around wreaking havoc in our soft Primary basics.
For the Lock, Shock, and Barrel mask bases:
- Step one: Trace the face shape of the character onto paper and then use that as a stencil! (Lock is red, Shock is green and Barrel is white).
- Step two: Use your stencil to cut the face shape out of the foam sheet AND the felt sheet, cut out eye holes and mouth holes. (There is no mouth hole on the barrel mask)
- Step three: Cut out nose holes for the barrel mask, line with black felt.
- Cut out a long smile for barrel out of white foam and paint on the teeth (creates depth).
- Step four: Hot glue the smile onto the barrel mask.
- Step five: Paint the teeth on the lock mask white with black details.
- Step six: Line just the mouth pieces of Lock and Shock with black felt.
- Step seven: Hot glue the correct felt sheets to the BACK of the foam sheets for added stability.
For the 3D noses for the lock and shock masks:
- Step one: Cut two triangles from cardboard (shocks nose is longer). Cut the triangle in half. Use those halves as stencils, and cut the same shapes from the correct color foam.
- Step two: Hot glue the cardboard pieces back together at an angle to create a 3D nose.
- Step three: Hot glue your 3D nose to the mask and cover (Including the bottom) with the foam pieces you previously cut out.
For the mask attachment:
- Step one: Measure your child’s head and cut an appropriate size piece of elastic.
- Step two: Hand sew the elastic to the edges of the masks above where your child’s ears will sit.
- Step three: Hot glue where you sew for added strength.