Image: @twodapperdads
Products you’ll need (5)
Charlie Brown Group
Products you’ll need (5)
Materials
For Charlie Brown:
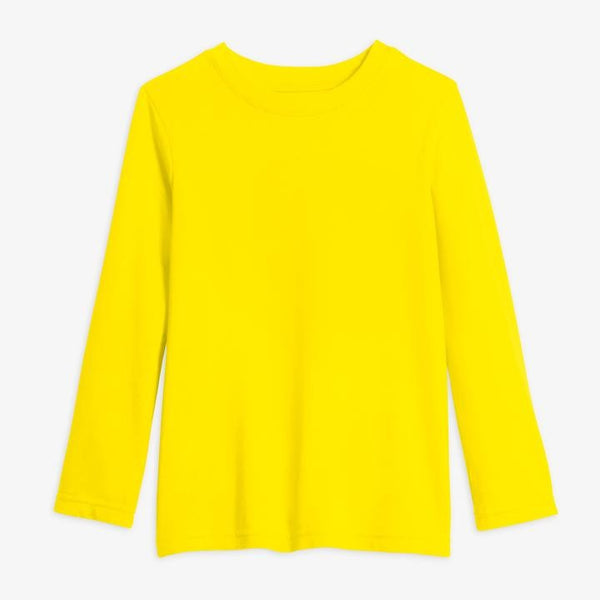
- One yellow kids top
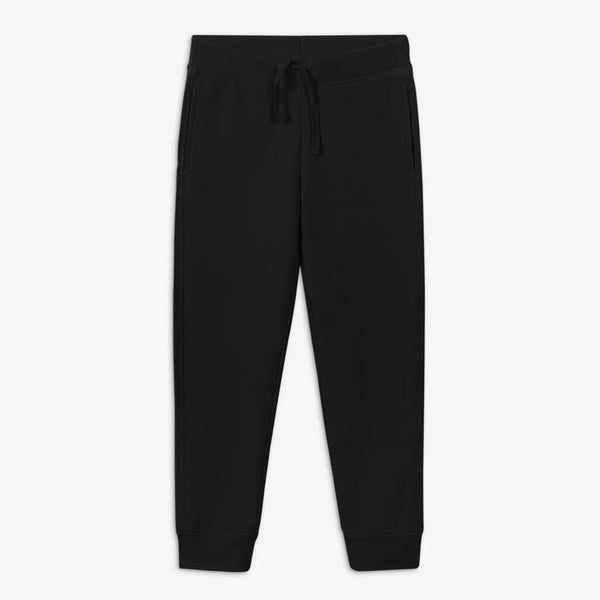
- One black kids bottom
- Beanie that matches child’s skin tone
- Black pipe cleaner
- Black adhesive felt
For Snoopy:
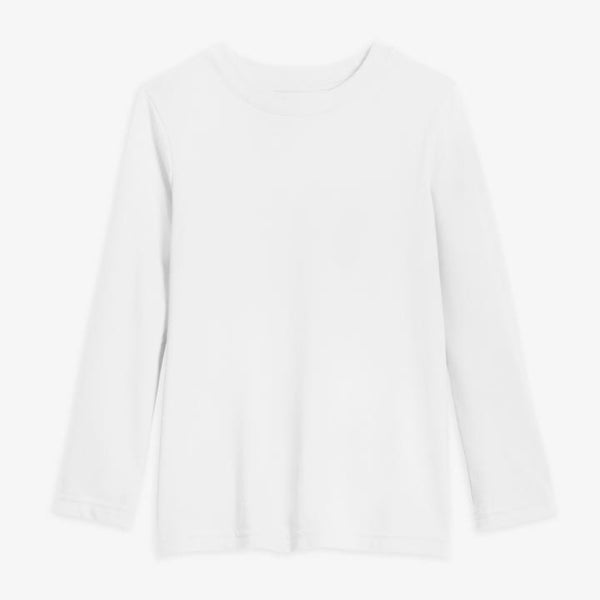
- One white kids top
- One white kids bottom
- White baseball cap
- White felt
- Black felt
- Red felt
- Yellow craft foam
- Black marker
- Large black pom pom
- Velcro
- Stuffing (polyfil, tissue paper, or fabric scraps)
- Safety pin
For Lucy:
- One blue kids dress
- White lace socks
- Black beanie
- Black felt
- Teal felt
- Black adhesive felt
- Stuffing (polyfil, tissue paper, or fabric scraps)
Tools
- Hot glue gun & sticks
- Scissors
- Pencil
- Fabric tape
Instructions
For Charlie Brown:
- Create the headpiece:
- Bend a black pipe cleaner into a curved loop like Charlie brown’s hair.
- Glue this hair piece to the front of the beanie.
- Create the shirt pattern:
- Use a pencil to draw a zig zag shape on the back of the adhesive felt.
- Cut out the shape and stick it across the lower half of the polo.
For Snoopy:
- Create the headpiece:
- Cut four matching ear pieces from black felt.
- Glue two felt ears together, and slightly stuff them before sealing them up.
- Glue the ears to either side of the cap.
- Cut two black felt eyes and thin eyebrows and glue them to the cap.
- Glue a large black pom pom to the end of cap bill.
- Create the collar:
- Cut a length of red felt for the collar and glue velcro to the ends.
- Cut a circle from a sheet of yellow craft foam for the nameplate.
- Use a black marker to write “Snoopy” on the nameplate.
- Glue the tag to the center front of the collar.
- Create the tail:
- Cut two tail pieces from white felt.
- Glue the tail pieces together and stuff it before sealing up.
- Safety pin the tail to the back of the pants.
For Lucy:
- Create the hair:
- Cut two matching pieces for each hair section - bangs and side curls - from black felt.
- Glue and stuff each hair piece together and glue them to the beanie.
- Create the collar:
- Cut a ring of teal felt large enough to fit around the neck collar.
- Scallop the outer edges.
- Glue velcro to the back opening of the collar to hold it in place.
- Use fabric tape to attach the collar to the neckline of the dress if needed.
- Create the button details:
- Cut two button shapes - two small circles with a line connecting them - from black adhesive felt.
- Stick the buttons to the dress just under the collar.


