

Products you’ll need (2)

Baby Captain Hook
Products you’ll need (2)
Materials:
- One baby top in white
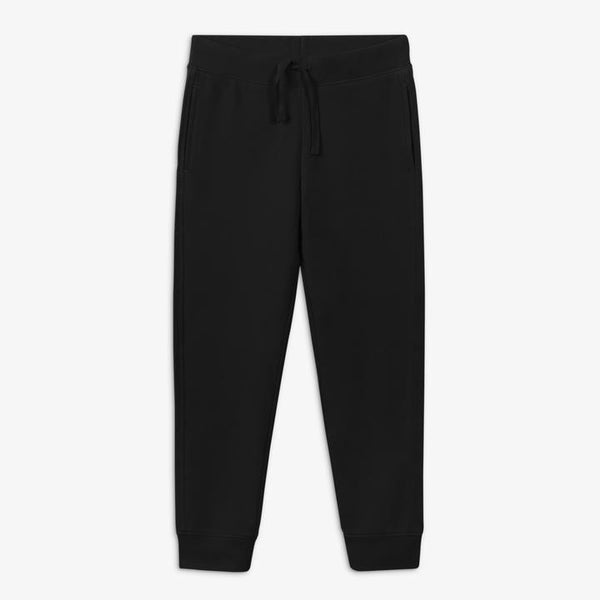
- One baby bottom in black
- Red felt
- Brown felt
- Yellow felt
- White felt
- Red felt, 3mm thick
- White pipe cleaners (3)
- White ruffled lace (2” wide)
- Gold trim, 1-1.5” wide
- Gold ribbon
- Gold craft foam sheet
- Poster board or cereal box
- Silver duct tape
- Black duct tape
- White elastic band (optional)
- Snap fasteners
Tools:
- Hot glue gun & sticks
- Scissors
-
Fabric chalk
Instructions:
For the hat:
- Cut a large circle from thick red felt. Cleanly cut out an oval in the center of the circle that is the circumference of the wearer’s head. Save this oval cutout for the top of the hat.
- Cut and glue a long strip of thick red felt for the crown of the hat around the center oval opening. Glue the felt oval on top of the crown.
- Roll the brim of the hat in 3 points towards the top edge of the hat, and glue in place
- Twist 3 pipe cleaners together and sandwich it in between two white felt feather shapes and glue together. Fringe cut the feather along the edges and glue the feather to one side of the hat.
- If needed, glue an elastic band strap to the hat to hold it onto the head.
For the jacket base:
-
Measure the length:
-
Measure the length from the child's shoulder down to the knees. This will be the length of the jacket.
-
-
Trace the tee onto felt:
- Lay out a long sleeve tee shirt onto the red felt, leaving enough room below it to make the full length of the jacket.
- Fold the sleeves to the back of the tee, being sure to fold the sleeves along the curve of the sleeve seam. Now you have a sleeveless top shape.
-
Use fabric chalk to trace this sleeveless tee onto the felt, but don't trace the bottom edge because you'll be extending this length for the full jacket. Trace the sleeveless tee shape about 1/2" wider to give room for the seam allowance and make the jacket slightly larger to fit another layer underneath. Draw straight lines from the bottom of the tee to the bottom of the felt edge.
-
Cut out the jacket panels:
- Remove the tee and cut out the traced shape.
- Place this cutout on top of another panel of red felt and cut out a matching piece. One panel will be for the front, and one for the back.
-
Trace and cut out the necklines:
- For the front jacket neckline, place the tee underneath one felt panel and press the felt to feel the curve of the neckline. Use fabric chalk to trace this curve and cut it out.
-
For the back of the jacket neckline, place the tee on top of the other panel and trace and cut out the back neckline curve.
-
Glue the shoulder seams:
-
With the right sides together, glue the shoulder seams with about ⅝” seam allowance.
-
- Cut the front jacket opening
- Cut a straight line down the center of the front jacket panel.
-
Trace the sleeves:
- Fold a panel of red felt in half that’s a little wider than the sleeves of the tee to include room for the seam allowance.
- Trace the long sleeve of the tee onto the folded felt and cut along the long straight and bottom edges of the sleeve. Leave extra room for the top curve of the sleeve.
- Use the shoulder seam curve from the felt jacket cutout to trace the top curve of the sleeve. You’ll be making a puzzle piece essentially so that the top curve of the sleeve fits the curve of the jacket arm opening.
-
Glue the sleeves onto the jacket:
- The jacket should still be with the right sides together. Pin the curved edge of the sleeve to the curved edge of the jacket and glue with a ⅝” seam allowance just along the curves. Leave the open straight edge of the sleeve and the long straight edge of the jacket open for now.
-
Make little V shaped cuts along the curved, glue seam allowance, being careful not to snip the seam. This will allow for a smoother seam when turned right side out.
-
Glue the rest of the sleeves and jacket:
- With the right sides together, pin the jacket together along the long straight side edges and the long straight edge of the sleeves, lining up the armpit area.
- Glue this edge together starting from the bottom of the sleeve and ending at the bottom of the jacket. Turn the jacket with the right sides out.
-
For the jacket details:
- Cut and glue red felt cuffs to the end of each sleeve.
- Glue white lace peeking out of the sleeves.
- Add red felt pockets and glue gold trim details around the cuffs, pockets, and jacket opening.
- Cut a rectangle of white felt for the cravat base and glue layers of white lace to the felt. Attach this piece to the front collar with glue on snap buttons.
-
For the belt:
- Cut a strip of brown felt that fits around the child’s waist with a few inches overlapping.
- Glue a gold craft foam rectangle belt buckle to the center of the belt. Safety pin the belt around the waist in the back.
-
For the hook:
- Make the base and hook from poster board or a cereal box.
- Cover the base with black duct tape and cover the hook with silver duct tape.